This is the idea behind the series. Taking your BBQ stats and putting them into Azure Log Analytics. I haven’t had my CyberQ WiFi for very long, but it didn’t take long before I was wondering how I could explore the data it was generating while I cooked. Once I started exploring the CyberQ web service I started having many more ideas, hence the series.
Getting Started
You’ll obviously need a CyberQ WiFi, setup and connected to your local network. I haven’t explored any of the other models they make, but I would bet that they’re mostly the same.
Powershell 5, which is already installed on Windows 10.
Whatever data analytics repository you want to use. I’ve chosen Azure Log Analytics(formally Operations Management Suite), as its been my favorite “new thing” for a while. If you want to use Log Analytics, you’ll want your keys, and you’ll want to install the Powershell module to post to the REST API. That said, the output is in JSON which can be put in something like MongoDB or CosmosDB, or you could simply output to a CSV by eliminating the convertto-json cmdlet.
Script Setup
Note: I have put the script out on github for anyone to take and use or modify. https://github.com/scautomation/BBQMon
The script has one parameter named type. Tab completion is enabled for the four types of cooks, Brisket, Poultry, Porkbutt, PorkRoast.

Param(
# Type of Cook
[parameter(Mandatory=$true)]
[ValidateSet('Brisket','Poultry','Porkbutt','PorkRoast')]
[string]$type
)

#Assign cook, temp, target temp and name
switch ($type) {
Brisket {
$pittemp = "225"
$target = "205"
$name = "Brisket"
$type = "brisket"
}
Poultry {
$pittemp = "295"
$target = "165"
$name = "Chicken_Turkey"
$type = "poultry"
}
Porkbutt {
$pittemp = "225"
$target = "195"
$name = "Pulled Pork"
$type = "porkbutt"
}
PorkRoast {
$pittemp = "300"
$target = "145"
$name = "Pork Roast"
$type = "porkroast"
}
}
Based on the entry it will set our pit temperature, food target temperature, and cook name via a switch. If you’re not familiar with Powershell switch, its essentially a more complex if statement. If you’re not as familiar with BBQ, yes those temps are accurate. With big chunks of meat like brikset and pork butts you need to take them that high so that it breaks down the less desirable portions of the meat inside, that is how the meats become tender.
Posting Our Values
Now that we have our desired meat and pit temps for our cook, we can post them to the CyberQ WiFi.
#set target pit temp and food target temp
$params = @{ COOK_SET = $pittemp; FOOD1_SET = $target; FOOD1_NAME = $name; COOK_NAME = $name;}
invoke-webrequest -uri http://10.10.10.30 -Method Post -Body $params
Monitor with Do While/Until Loop
Next, we setup a Do While loop. As explained in my RestMethod vs WebRequest post, we get the current temperatures in XML format using Invoke-RestMethod, because it natively detects the XML and converts it to a Powershell object. We will then use Invoke-WebRequest to get the current target temps from the HTML output.
#monitor and post data
Do {
#get current status
$bbqstatus = Invoke-RestMethod -uri http://10.10.10.30/status.xml
$bbqtargets = Invoke-WebRequest -uri http://10.10.10.30
#build search values for current targets
$values = @('_cook_set','_food1_set','_food2_set','_food3_set','cook_name')
#get current targets
$bbqtargets = $bbqtargets.InputFields | where-object {$values -contains $_.name} | Select-Object name, id, value
#get current temp status
$status = $bbqstatus.nutcstatus | Select-Object output_percent, timer_curr, cook_temp, food1_temp, food2_temp, food3_temp
After examining the HTML response, I built a values hash table to search for to get the current targets from the $bbqtargets variable.
Next we’ll assign the values to variables, by performing a Where-Object on each of our values that we want to assign.
#get Pit target temp from HTML output
$pitTargettemp = $bbqtargets | Where-Object{$_.name -eq '_COOK_SET'}
$pitTargettemp = $pitTargettemp.value

#get food 1 target temp from html output
$food1Targettemp = $bbqtargets | Where-Object{$_.name -eq '_FOOD1_SET'}
$food1Targettemp = $food1Targettemp.value

#get food 2 target temp from html output
$cook = $bbqtargets | Where-Object{$_.name -eq 'COOK_NAME'}
$cook = $cook.value

#convert temps to normal
$pittemp = $status.COOK_TEMP/10
$pitfan_output = $status.OUTPUT_PERCENT
$food1temp = $status.food1_temp/10
The last part converts the current pit temp and food temp to normal by dividing by 10. Initially the outputs were in the high triple digits.
Build JSON Payload and Submit to Log Analytics
this is where we build the JSON payload, at this point you could submit the data to any service that would accept a JSON payload.
#build json output

$json = @"
{
"Pit Target Temp": $pitTargettemp,
"Fan % Output": $pitfan_output,
"Food 1 Target": $food1targettemp,
"Pit Temp": $pittemp,
"Food1 Temp": $food1temp,
"Cook Name": "$cook"
}
"@

$out = ConvertFrom-Json $json
$out | export-csv c:\temp\bbqnew7.csv -Append
As you can see from the ConvertFrom-Json you can also assign a new variable and output it simply to a CSV file if you wanted to.
Full Script
Param(
# Type of Cook
[parameter(Mandatory=$true)]
[ValidateSet('Brisket','Poultry','Porkbutt','PorkRoast')]
[string]$type
)

# Replace with your Workspace ID
$CustomerId = "workspace ID"

# Replace with your Primary Key
$SharedKey = "primary key"

# Specify the name of the record type that you'll be creating
$LogType = "BBQ"

#Assign cook, temp, target temp and name
switch ($type) {
Brisket {
$pittemp = "225"
$target = "205"
$name = "Brisket"
$type = "brisket"
}
Poultry {
$pittemp = "295"
$target = "165"
$name = "Chicken_Turkey"
$type = "poultry"
}
Porkbutt {
$pittemp = "225"
$target = "195"
$name = "Pulled Pork"
$type = "porkbutt"
}
PorkRoast {
$pittemp = "300"
$target = "145"
$name = "Pork Roast"
$type = "porkroast"
}
}

#set target pit temp and food target temp
$params = @{ COOK_SET = $pittemp; FOOD1_SET = $target; FOOD1_NAME = $name; COOK_NAME = $name;}
invoke-webrequest -uri http://10.10.10.30 -Method Post -Body $params

#monitor and post data
Do {
#get current status
$bbqstatus = Invoke-RestMethod -uri http://10.10.10.30/status.xml
$bbqtargets = Invoke-WebRequest -uri http://10.10.10.30

#build search values
$values = @('_cook_set','_food1_set','_food2_set','_food3_set','cook_name')

#get current targets
$bbqtargets = $bbqtargets.InputFields | where-object {$values -contains $_.name} | Select-Object name, id, value

#get current temp status
$status = $bbqstatus.nutcstatus | Select-Object output_percent, timer_curr, cook_temp, food1_temp, food2_temp, food3_temp

#get Pit target temp from HTML output
$pitTargettemp = $bbqtargets | Where-Object{$_.name -eq '_COOK_SET'}
$pitTargettemp = $pitTargettemp.value

#get food 1 target temp from html output
$food1Targettemp = $bbqtargets | Where-Object{$_.name -eq '_FOOD1_SET'}
$food1Targettemp = $food1Targettemp.value

#get food 2 target temp from html output
$cook = $bbqtargets | Where-Object{$_.name -eq 'COOK_NAME'}
$cook = $cook.value

#convert temps to normal
$pittemp = $status.COOK_TEMP/10
$pitfan_output = $status.OUTPUT_PERCENT
$food1temp = $status.food1_temp/10

#build json output

$json = @"
{
"Pit Target Temp": $pitTargettemp,
"Fan % Output": $pitfan_output,
"Food 1 Target": $food1targettemp,
"Pit Temp": $pittemp,
"Food1 Temp": $food1temp,
"Cook Name": "$cook"
}
"@

# Specify a field with the created time for the records
$TimeStampField = get-date
$TimeStampField = $TimeStampField.GetDateTimeFormats(115)

# Submit the data to the API endpoint
Send-OMSAPIIngestionFile -customerId $customerId -sharedKey $SharedKey -body $json -logType $LogType -TimeStampField $TimeStampField


$out = ConvertFrom-Json $json

$out | export-csv c:\temp\bbqnew7.csv -Append

write-host "starting sleep"
write-host "Food is currently at $food1temp"
write-host "Pit is currently at $pittemp"

start-sleep -Seconds 60

}Until ($food1Targettemp -eq $food1temp)
Analyzing the Data with Azure Log Analytics
Now that we have all this fun data to play with we could do something like this to alert us when the food is almost done.
BBQ_CL
| top 10 by TimeGenerated
| extend Almost = Food_1_Target_d - 10 = Food1_Temp_d
| where Almost == 'True'
Where BBQ_CL is our custom log, we then select the top 10 record by TimeGenerated.
We create a new variable “Almost” which equals the result of our target temp – 10. If the current food temp is equal to or greater than that, then Almost is true. We then define the result of the query, Almost needs to be true to trigger an alert. From this we can drop the query in Azure Alerts.
The same concept applies to creating a food done query.
BBQ_CL
| extend Done = Food1_Temp_d == Food_1_Target_d
| where Done == 'True'
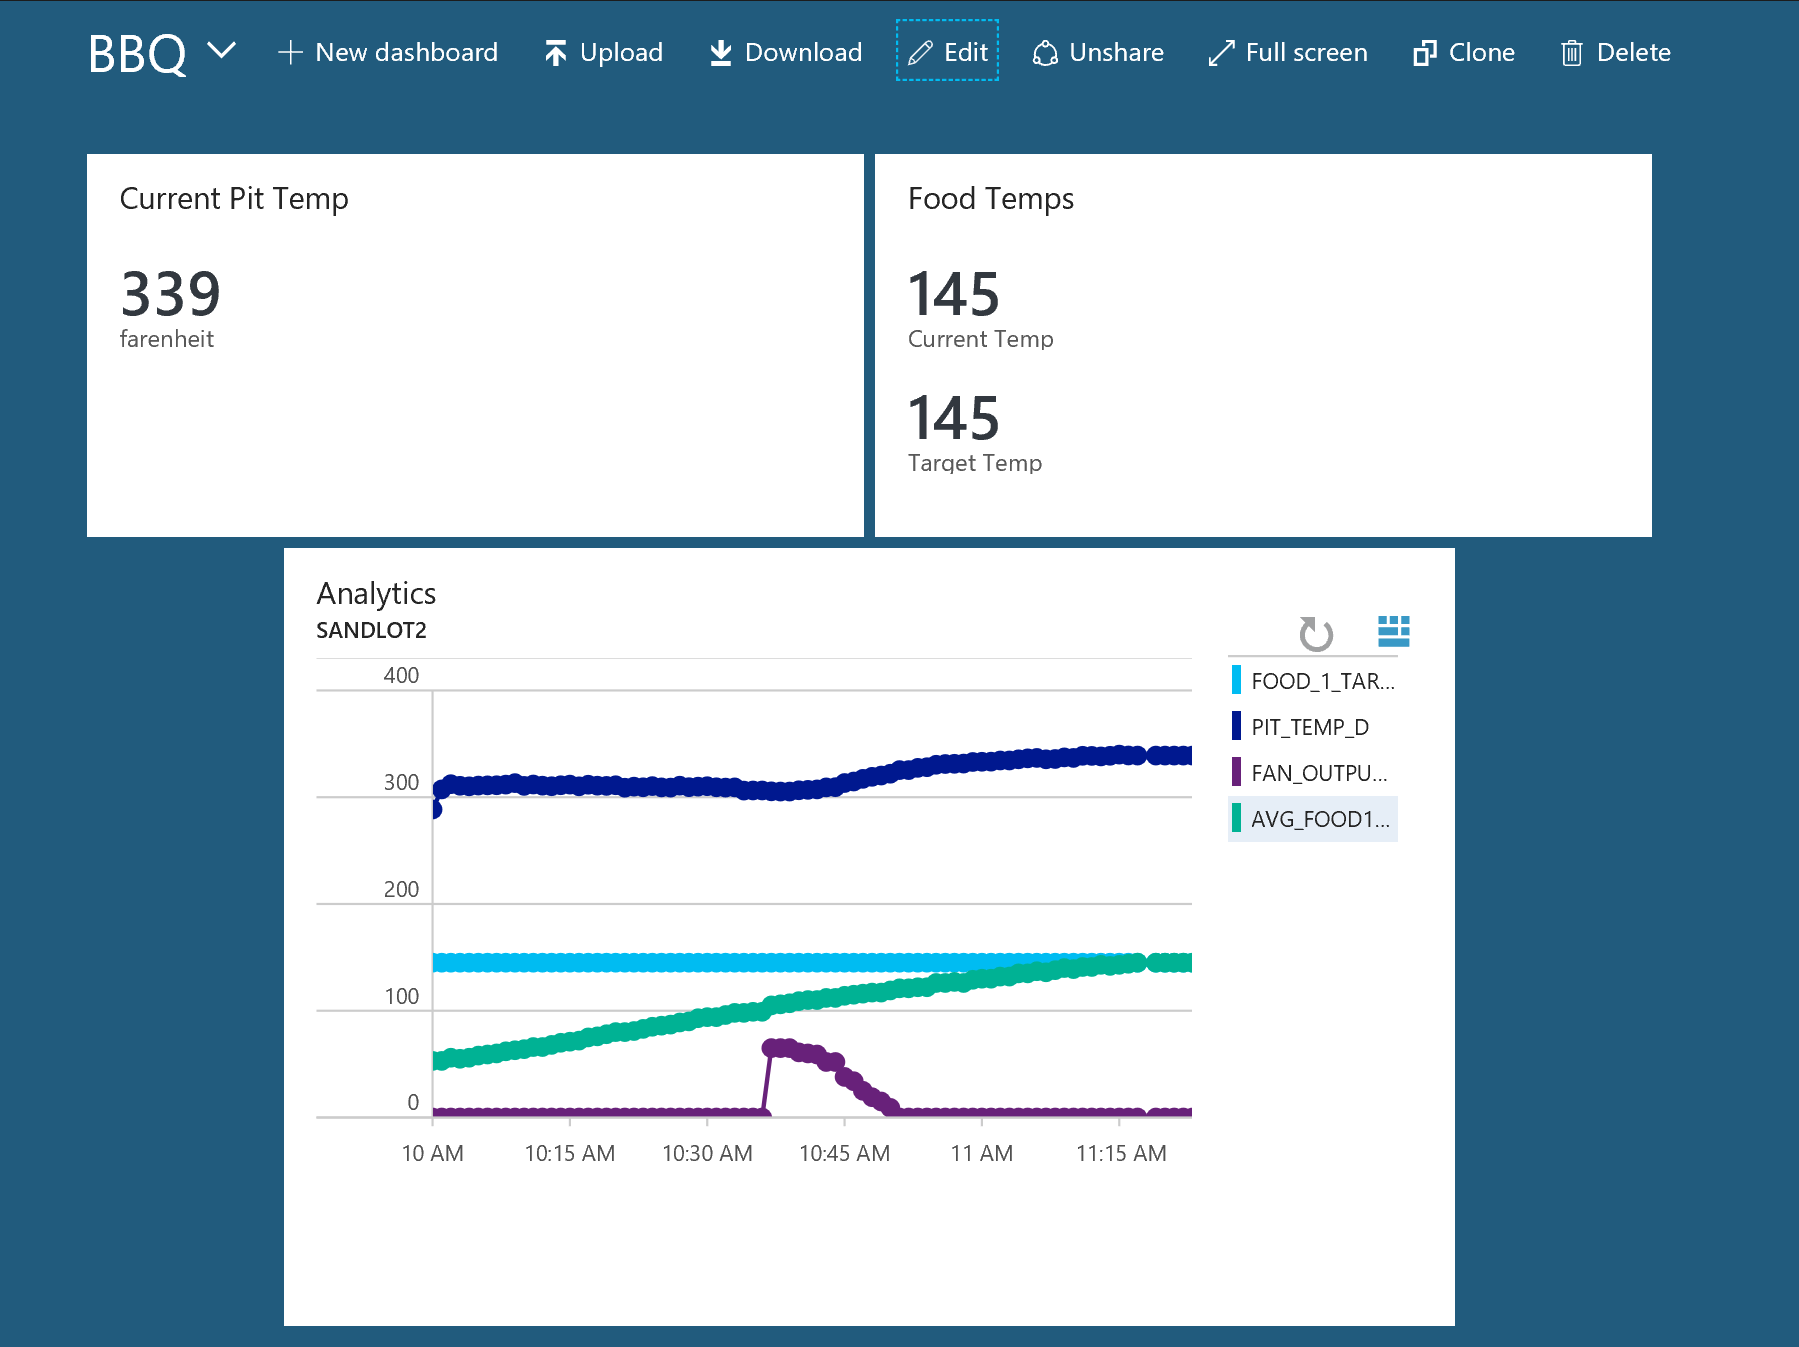
But what if we wanted to create a Dashboard with lots of different information?
BBQ_CL
| where Cook_Name_s == "Pork Roast"
| project Pit_Temp_d, TimeGenerated
| sort by TimeGenerated desc | top 1 by TimeGenerated
| project Pit_Temp_d
would get the current pit temperature.
BBQ_CL
| where Cook_Name_s == "Pork Roast"
| project Food1_Temp_d, TimeGenerated
| sort by TimeGenerated desc | top 1 by TimeGenerated
| project Food1_Temp_d
This query will get the current food temp.
How bout some graphs?
BBQ_CL
| where Cook_Name_s == "Pork Roast"
| summarize avg(Food1_Temp_d) by Food_1_Target_d, Pit_Temp_d, Fan_Output_d, bin(TimeGenerated, 1m)
| render timechart
We use the summarize function to get create the average for the Food1_Temp_d field, by time generated. The resultant graph would look like this.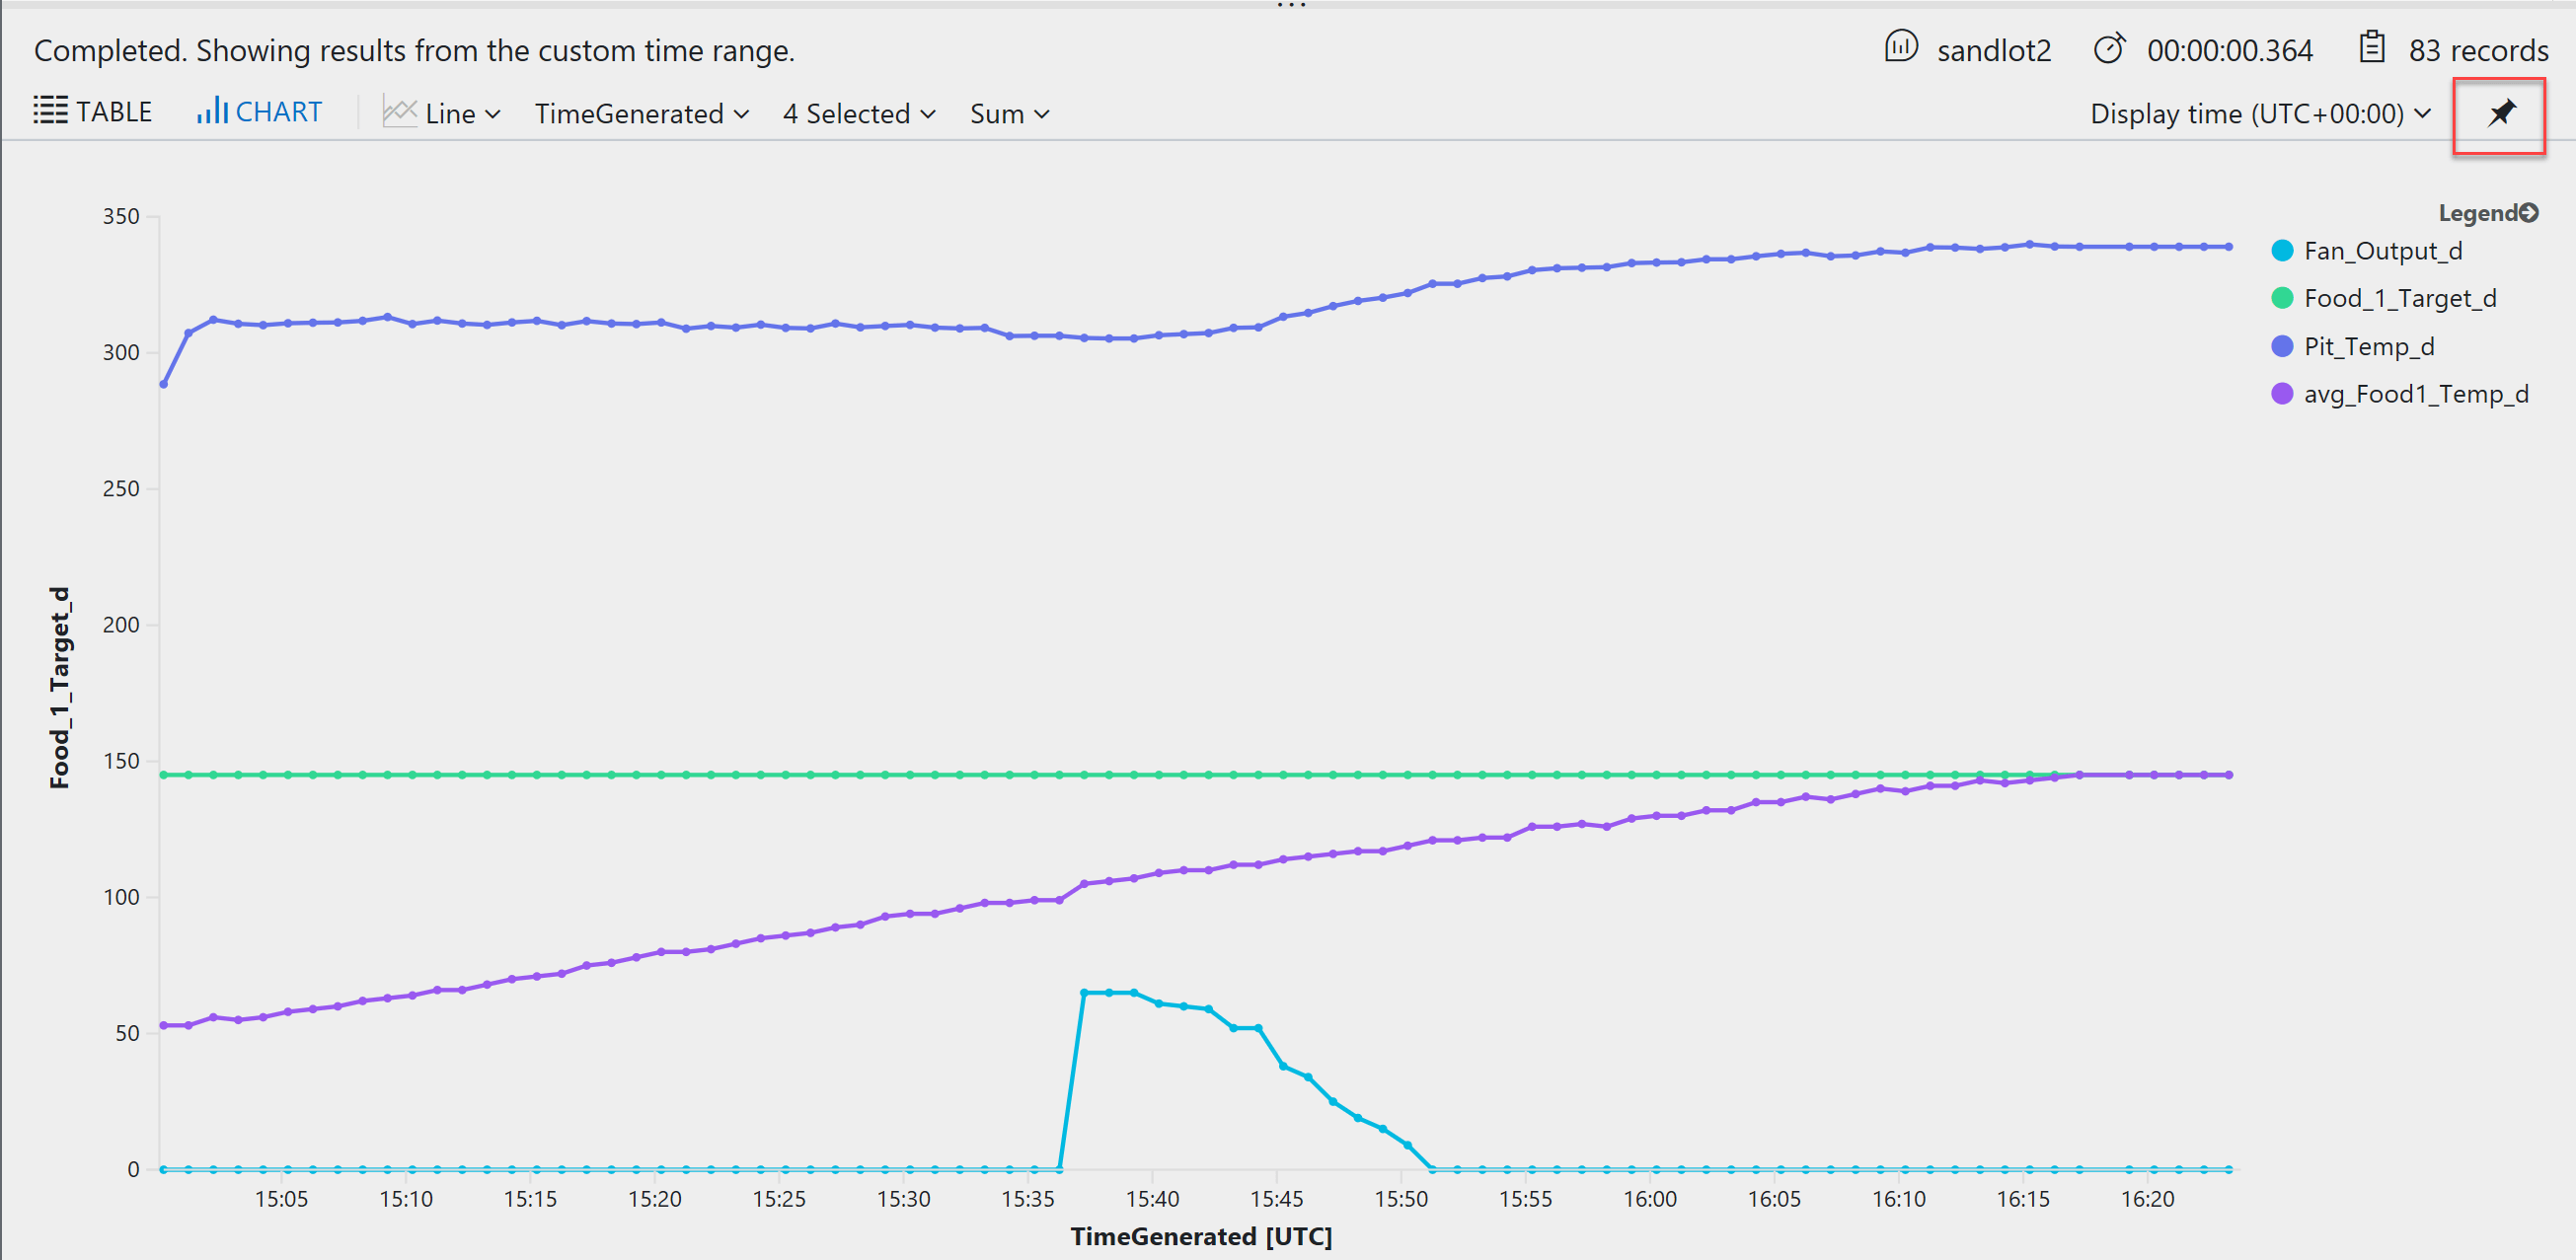
For graphs, I’ve found it easier to pin it to a Azure Dashboard than go through the View Designer. You can do that by clicking the pin denoted in the red box. Might be I just need to learn PowerBI.
Here is our dashboard.
Advanced Queries in Azure Log Analytics
One thing I am working on is a prediction for the amount of time until the food is done. The query is based on the last ten minutes of results. It works pretty well for pork roasts, because its a pretty linear cook. However for brisket and pulled pork we run into “the stall.” In BBQ terms, the stall is when our food actually begins to sweat and evaporative cooling occurs. This is why you often hear people say a brisket takes 12+ hours.
Here is the current query, shout out to Cameron Fuller. Cameron helped me get the tables joined together, which had me stumped. If you’re curious about really advanced queries in Log Analytics, check out some of his work. He put together a Solar Power energy estimation based on weather forecasts.
let Query1 = BBQ_CL
| where Cook_Name_s == "Pulled Pork"
| top 1 by TimeGenerated
| extend CurrentTemp = Food1_Temp_d
| extend TargetTemp = Food_1_Target_d
| project CurrentTemp, TargetTemp, Cook_Name_s;
//Query1
let Query2 = BBQ_CL
| where Cook_Name_s == "Pulled Pork"
| project Food1_Temp_d, TimeGenerated
| top 10 by TimeGenerated desc
| summarize Rate = (max(Food1_Temp_d) - min(Food1_Temp_d))/10
| extend Cook_Name_s = "Pulled Pork";
Query2 | join Query1 on Cook_Name_s
| extend (TargetTemp-CurrentTemp)/Rate
Another query I’ve been working on it getting multiple temperatures for different cooks.
let GetPorkTemp = BBQ_CL
| where Cook_Name_s == "Pulled Pork"
| top 1 by TimeGenerated
| extend PulledPorkTemp = Food1_Temp_d
| project PulledPorkTemp,Pit_Target_Temp_d, TimeGenerated;
//GetPorkTemp
let GetBrisketTemp = BBQ_CL
| where Cook_Name_s == "Brisket"
| top 1 by TimeGenerated
| extend BrisketTemp = Food1_Temp_d
| project BrisketTemp, Pit_Target_Temp_d, TimeGenerated;
//GetBriksetTemp
let GetPorkRoastTemp = BBQ_CL
| where Cook_Name_s == "Pork Roast"
| top 1 by TimeGenerated
| extend PorkRoastTemp = Food1_Temp_d
| project PorkRoastTemp, Pit_Target_Temp_d, TimeGenerated;
//GetPorkRoastTemp
GetBrisketTemp | join GetPorkTemp on Pit_Target_Temp_d
| project BrisketTemp, PulledPorkTemp
Currently, this only returns the Pulled Pork and Brisket meat temps, I haven’t quite figured out how to join the third GetPorkRoastTemp to the others.
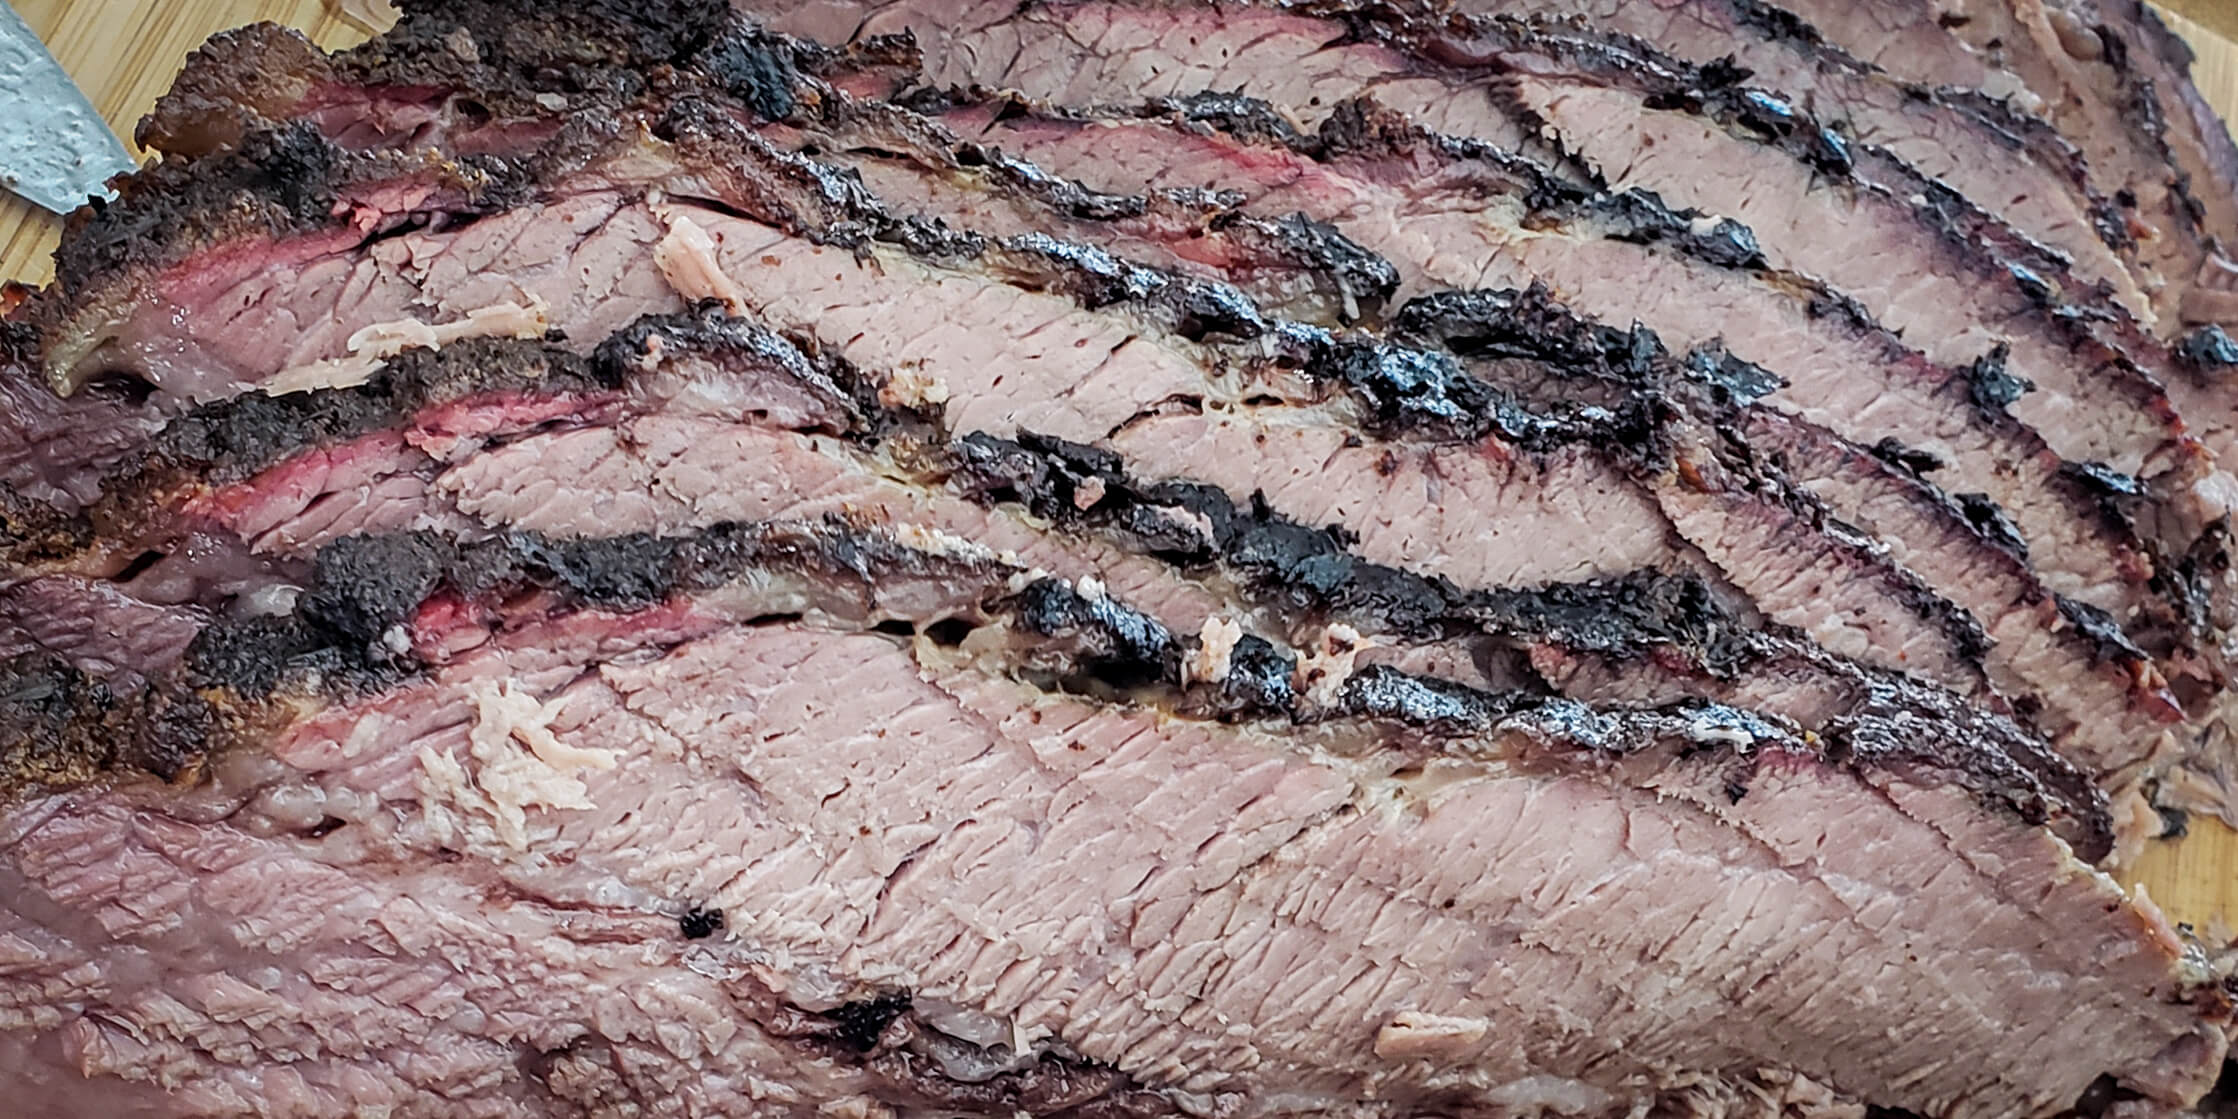
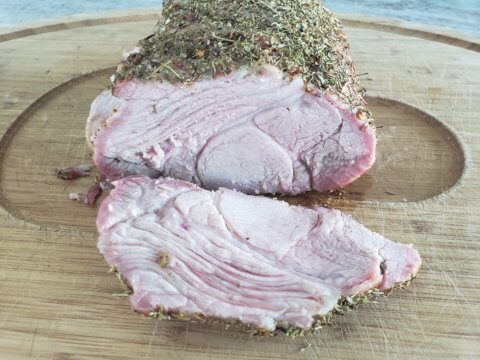
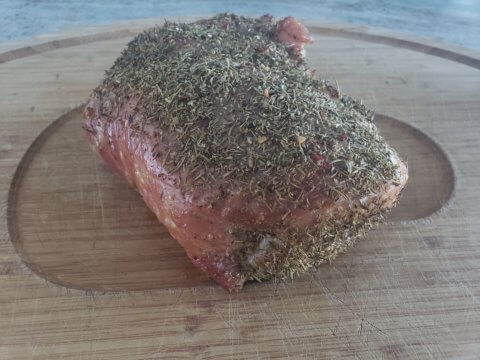
Some BBQ Pics
the pork roast and brisket “sacrificed” for this post. We do a home made honey mustard with the pork roast, my wife and kids love it.

If you’ve actually made it this far, congrats to you and thank you! If you have any questions on Log Analytics or BBQ feel free to hit me up.
1 thought on “Monitor your BBQ with Powershell and Azure Log Analytics”
Comments are closed.